

20 Genius Sink Plumbing Tips: Your Effortless Guide
Leaky faucets and clogged drains? These common sink problems can be super frustrating. They waste water, cause mess, and can even lead to bigger issues. But guess what? Many sink plumbing challenges are simpler to fix than you think! With a few basic tools and some clear steps, you can tackle them yourself. This guide is here to make it easy. We’ll walk you through 20 smart tips to keep your sinks running smoothly.
Why Sink Plumbing Matters
Your sink is a busy hub in your home. From brushing teeth to washing dishes, we use it all day, every day. When it acts up, it really disrupts your routine. Understanding basic sink plumbing isn’t just about fixing leaks; it’s about saving money on water bills, preventing water damage, and feeling more confident in your home. Plus, many fixes are quick DIY projects!
Essential Tools for Sink Plumbing
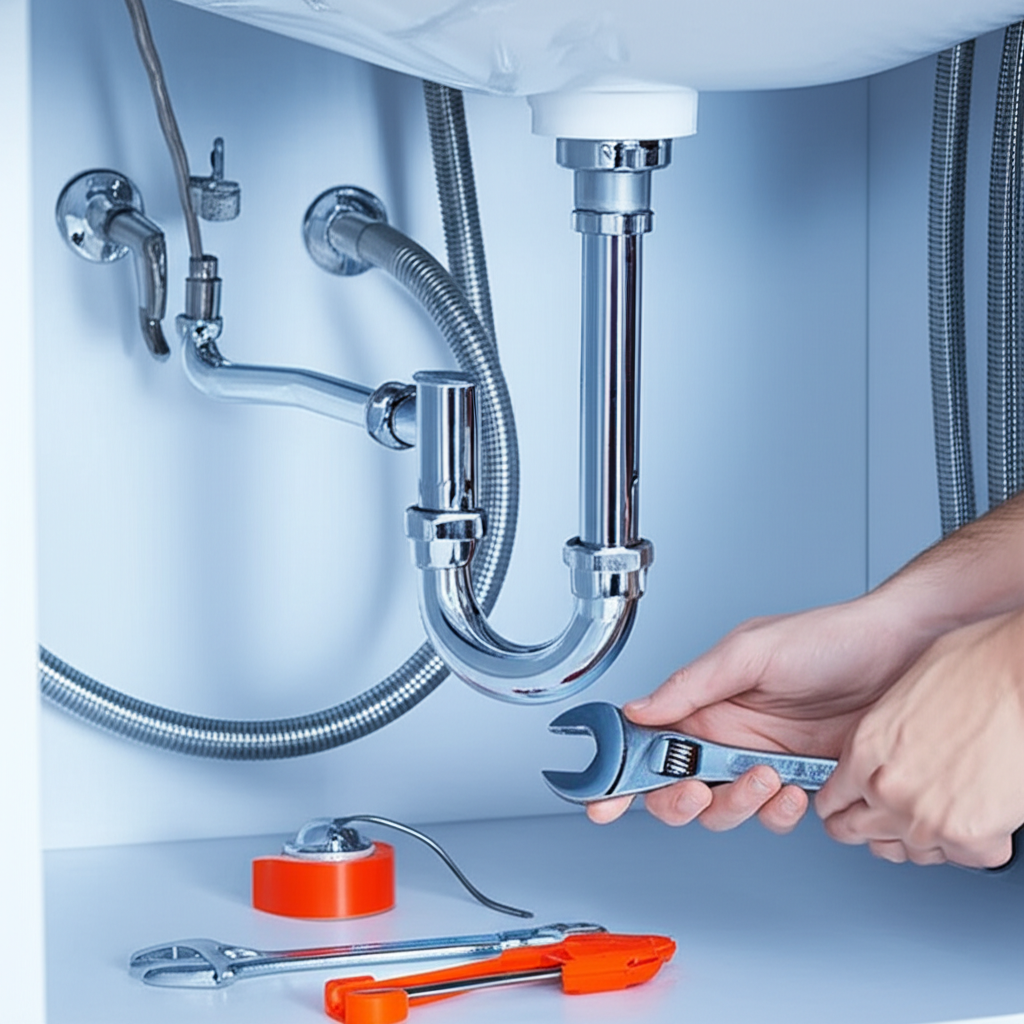
Before we dive into the tips, let’s gather some basic tools. You don’t need a plumber’s entire toolbox, but having these on hand will make your DIY projects much smoother:
| Tool | Why You Need It | Beginner-Friendly Notes |
|---|---|---|
| Adjustable Wrench | To tighten or loosen nuts and bolts of various sizes. | Look for one with clear size markings. |
| Pipe Wrench | For gripping pipes, especially when extra torque is needed. | Use this carefully on plastic pipes to avoid damage. |
| Plumber’s Tape (Teflon Tape) | To create a watertight seal on threaded pipe connections. | Wrap it in the direction the threads turn. |
| Plunger | The go-to tool for clearing most common clogs. | Ensure it creates a good seal over the drain. |
| Bucket | To catch any dripping water when you disconnect pipes. | A sturdy bucket is your best friend for mess control. |
| Screwdrivers (Phillips and Flathead) | For removing faucet handles, escutcheons, and other parts. | Have a set with various sizes. |
| Pliers (Channel Locks or Slip-Joint) | Useful for gripping and turning various plumbing parts. | Channel locks offer a more secure grip. |
| Safety Glasses | To protect your eyes from debris or splashing water. | Always wear them when working under a sink. |
| Gloves | To keep your hands clean and protected from old gunk. | Nitrile or rubber gloves work well. |
Having these tools ready means you’re prepared for most common sink plumbing tasks. Now, let’s get to those 20 genius tips!
20 Genius Sink Plumbing Tips
-
1. Master the Shut-Off Valve
Knowing where your shut-off valves are is crucial. Most sinks have two valves underneath – one for hot water and one for cold. Turn these off clockwise to stop water flow before you start any work. If you can’t find them or they don’t work, you’ll need to shut off the main water supply to your house. It’s usually located in the basement, garage, or near your water meter. Saving water starts with knowing how to control it!
-
2. The Mighty Plunger for Drains
For a slow drain or a complete blockage, your first line of defense is a plunger. Make sure you have a cup plunger (the basic kind) for sinks. Create a good seal over the drain opening by adding some water to the sink. Give it a few firm pushes and pulls. Often, this is all it takes to dislodge whatever is causing the clog.
-
3. Baking Soda and Vinegar: The Natural Drain Cleaner
Got a smelly or slightly sluggish drain? Try this natural cleaning hack. Pour about half a cup of baking soda down the drain, followed by half a cup of white vinegar. It will fizz! Let it sit for 15-30 minutes, then flush with hot water. This combination can break down grease, grime, and soap scum. For persistent foul odors, repeat. According to EPA guidance, reducing chemical pollutants is good for our water systems.
-
4. Dealing with a Leaky Faucet Aerator
The aerator is the little screen at the tip of your faucet. If it’s dripping, it might just be loose. Try tightening it by hand first. If it’s still leaking, unscrew it (using pliers gently if needed, with a cloth to protect the finish) and clean out any mineral buildup. Ensure the rubber washer inside is intact. Screw it back on, hand-tight, and then give it a tiny snug with pliers if necessary.
-
5. Fixing a Dripping Faucet Handle
A drip from the handle usually means a worn-out O-ring or cartridge.
- Turn off the water supply under the sink.
- Carefully remove the decorative cap on the handle.
- Unscrew the handle screw and lift off the handle.
- You’ll see the stem or cartridge. Depending on your faucet type, you might need to unscrew a retaining nut.
- Replace the O-ring or the entire cartridge.
- Reassemble everything and turn the water back on slowly.
This is a very common DIY fix that saves a lot of water!
-
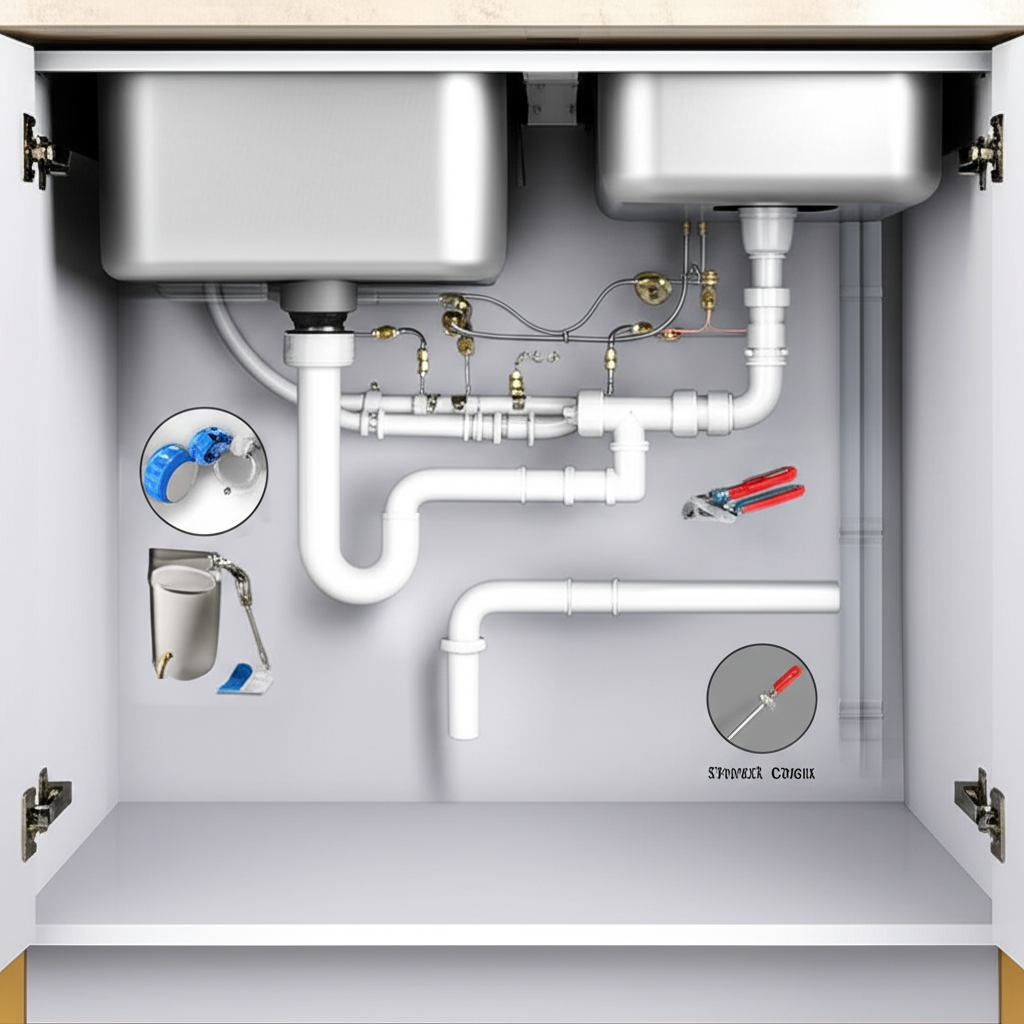
6. The P-Trap: Your Drain’s Best Friend (and Sometimes Clogger)
That U-shaped pipe under your sink is called a P-trap. Its job is to hold water, creating a seal that prevents sewer gases from coming up into your home. It’s also a common spot for things to get stuck. If you have a recurring clog or dropped something valuable down the drain, place a bucket underneath, unscrew the slip nuts on either side of the trap, and remove it. Clean it out and reassemble.
-
7. Using Plumber’s Tape Correctly
When you reconnect pipes or install new fixtures, plumber’s tape (also known as Teflon tape) is your secret weapon for preventing leaks. Wrap the tape around the threaded pipe 3-5 times in a clockwise direction. This creates a snug, waterproof seal. Make sure to wrap it the correct way – wrapping it counter-clockwise will just unravel it when you screw the fitting on.
-
8. Cleaning the Sink Strainer
The strainer basket in your sink might seem simple, but gunk can build up around its edges, slowing drainage and causing odors. Simply lift the strainer basket out of the drain. Use an old toothbrush or scrubbing brush to clean away any food debris or residue. A lot of times, this is all you need for a slow-moving drain.
-
9. Preventing Grease and Food Scraps from Going Down
This is a huge one for drain health! Never pour grease, oil, or coffee grounds down your sink. They solidify and create stubborn clogs. Scrape food scraps from plates into the trash or compost bin. Even small amounts of grease can cause big problems over time. Think of your drain as a highway for water, not a trash chute!
-
10. Tightening Loose Parts
Sometimes, slow drains or minor drips aren’t due to worn parts but just loose connections. Check if the nuts holding your drain assembly together or the supply line fittings are a bit loose. Gently tighten them with an adjustable wrench or pliers. Don’t overtighten, as this can strip threads or crack parts.
-
11. Understanding Compression vs. Cartridge Faucets
Knowing your faucet type helps with repairs.
Type How it Works Common Issues Compression Uses rubber washers that are compressed against a valve seat to stop water. Worn-out washers cause drips. Cartridge Uses a movable stem with an insert (cartridge) that controls water flow. Leaky cartridges or worn O-rings. For older faucets, it’s often compression. Newer ones, especially single-handle faucets, are usually cartridge.
-
12. Easy Fix for a Leaky Supply Line
The flexible hoses connecting your shut-off valves to the faucet can sometimes develop small leaks.
- Turn off the water at the shut-off valve.
- Place a bucket under the connection.
- Use an adjustable wrench to loosen and remove the leaky supply line from both the faucet tailpiece and the shut-off valve.
- Replace the old line with a new one, ensuring the rubber washers are in place.
- Tighten the connections securely but avoid overtightening.
- Turn the water back on slowly and check for leaks.
These lines are inexpensive and easy to replace.
-
13. Vent Pipe Blockages
If you notice gurgling sounds from your drains or water backs up slowly in multiple fixtures, you might have a blocked vent pipe. These pipes allow air into your plumbing system, helping water flow smoothly. Blockages (often from leaves or nests) can cause slow drains. This is a more advanced DIY, but knowing the cause is the first step. You can often access vent pipes from the roof.
-
14. When to Use a Drain Snake (Auger)
For clogs that a plunger can’t budge, a drain snake (or auger) is the next step. Feed the snake into the drain and twist the handle as you push it further in. The snake’s tip will break through or grab onto the clog. Once you feel resistance release, slowly retract the snake. Remember to wear gloves and have a bucket ready!
-
15. Cleaning Faucet Screens and Aerators
Don’t forget the little things! Mineral deposits can build up on faucet aerators and showerheads, reducing water flow and causing issues. Unscrew the aerator from your faucet. Soak it in a bowl of equal parts white vinegar and water for a few hours or overnight. Scrub it clean with a brush, rinse, and reattach. It’s a simple step that can boost performance significantly.
-
16. Checking for Toilet Leaks (Even if It’s Not a Sink!)
While this is for sinks, it’s a good plumbing habit to get into. Toilet leaks are a major water waster. A simple test: put a few drops of food coloring into the toilet tank. Wait about 15-30 minutes without flushing. If the color appears in the toilet bowl, you have a leak, likely from a faulty flapper or fill valve. Fixing this can save you gallons!
-
17. Installing a New Sink Strainer
If your current strainer is broken or doesn’t seal properly, replacing it is straightforward.
- Turn off the water and place a bucket under the drain.
- Unscrew the P-trap from the underside of the sink’s drain tailpiece.
- You’ll see a large nut holding the strainer body to the sink. Unscrew this nut.
- Lift the old strainer away and clean the sink opening.
- Insert the new strainer, ensuring the rubber gasket is seated correctly.
- Apply plumber’s putty or sealant around the strainer flange if recommended by the manufacturer.
- From underneath, thread the nut onto the strainer body and tighten it.
- Reattach the P-trap and turn the water back on to test.
A good seal prevents leaks and drain odors.
-
18. Understanding Water Pressure Issues at Your Sink
Low water pressure at just one sink? It could be a kinked supply line, a clogged aerator, or a partially closed shut-off valve. High pressure across the house might indicate issues with your main water regulator. If solving sink-specific low pressure doesn’t work, it might be time to investigate further or call a professional.
-
19. The Importance of Proper Installation
When installing new sinks or faucets, follow manufacturer instructions precisely. Using the right amount of plumber’s tape, tightening connections correctly, and ensuring everything is level and sealed are critical steps. DIY or professional, proper installation prevents future headaches. You can find excellent installation guides on manufacturer websites.
-
20. When to Call a Professional Plumber
While many sink issues are DIY-friendly, don’t hesitate to call a licensed plumber if:
- You’re uncomfortable or unsure about a repair.
- The problem persists after trying basic fixes.
- You suspect a major leak or pipe damage.
- You need to work with main water lines or sewer lines.
- You encounter corroded or unmovable parts.
It’s always better to be safe and protect your home from potential water damage.
Troubleshooting Common Sink Problems
Sometimes, despite our best efforts, sinks can be stubborn. Here’s a quick guide to common issues and their likely causes and solutions:
| Problem | Possible Cause | Suggested Solution |
|---|---|---|
| Drip from Faucet Spout | Worn washer, O-ring, or faulty cartridge. | Replace the worn part. |
| Slow Drain | Partial clog (hair, soap scum, food). | Plunge, use baking soda/vinegar, or a drain snake. |
| Gurgling Sink Drain | Blocked vent pipe or partial drain clog. | Check vent pipe access or use a drain snake. |
| Water Underneath Sink | Loose pipe connections, faulty P-trap, or leaking supply line. | Tighten connections, check P-trap seals, replace supply lines. |
| Faucet Leaks from Handle Base | Worn O-ring or packing nut is loose. | Replace O-ring or tighten packing nut. |
| Bad Smells from Drain | Trapped food debris, hair, or sewer gas. | Clean drain thoroughly with baking soda/vinegar or enzyme cleaner. |
Frequently Asked Questions (FAQs)
1. How often should I clean my sink drain?
It’s a good idea to do a preventative clean with baking soda and vinegar once a month. For drains prone to clogs, like kitchen sinks with grease, more frequent cleaning might be needed.
2. What is plumber’s putty and can I use it instead of plumber’s tape?
Plumber’s putty is a soft, clay-like substance used to create a watertight seal around drain flanges, faucet bases, and strainers. It’s not typically used on threaded pipe connections where plumber’s tape is the standard for creating a seal.
3. My faucet has low water pressure. What’s the easiest fix?
The easiest and most common fix for low water pressure at the faucet is to unscrew the aerator at the end of the spout and clean out any mineral buildup or debris. If that doesn’t help, check the supply lines for kinks or obstructions.
4. Can baking soda and vinegar damage my pipes?
No, baking soda and vinegar are generally safe for most types of plumbing pipes,