

3 Genius Plumbing Tips for Homeowners: Tackle Common Fixes with Confidence
Plumbing problems can feel overwhelming. A leaky faucet or a clogged drain can be a real headache. Many homeowners worry about calling a plumber for small issues or feel unsure about fixing them themselves. But what if I told you that you can handle some of these common fixes with a little knowledge and confidence? It’s true! I’m Nazmul Hasan, and I’m here to share some simple, genius plumbing tips that anyone can use. We’ll break down these common problems into easy, step-by-step instructions. Get ready to feel empowered and save yourself time and money!
Quick Summary: Your Plumbing Cheat Sheet
Drip-Free Faucets: Learn how to stop that annoying drip by replacing a worn-out washer or O-ring.
Clear Clogged Drains: Discover simple, safe methods to unclog sinks and tubs without harsh chemicals.
Toilet Troubles Solved: Understand common toilet issues and how to fix a running toilet.
Why These Fixes Matter
These aren’t just minor annoyances; they can actually cost you money and lead to bigger problems if left unattended. A constant drip from a faucet might seem small, but it wastes gallons of water over time, increasing your water bill. A clogged drain can prevent you from using your sink or shower and, in severe cases, can cause water to back up into your home. Fixing these everyday plumbing issues yourself not only saves you money on a plumber’s visit but also gives you a real sense of accomplishment. It’s about taking control of your home and feeling confident in your ability to keep things running smoothly.
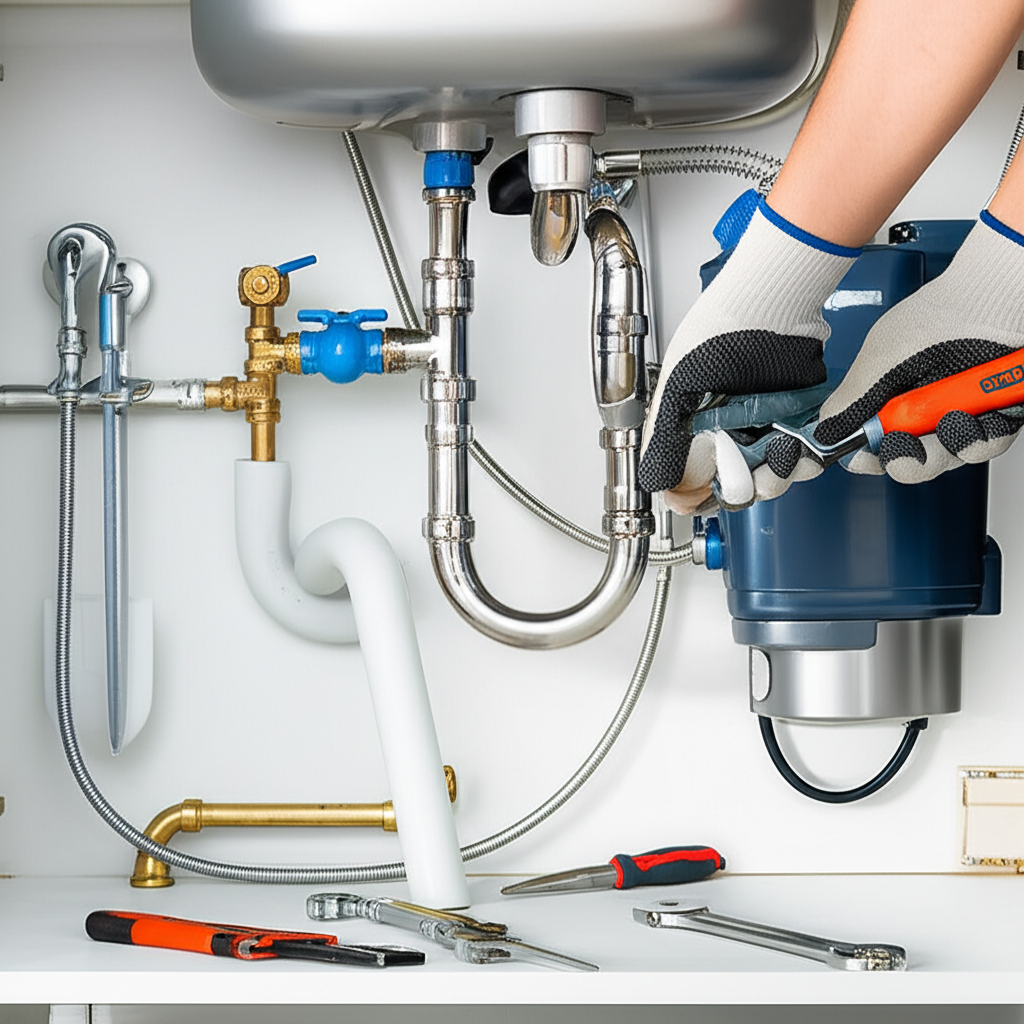
Tip 1: Silence That Dripping Faucet
That incessant drip, drip, drip from your faucet is more than just annoying; it’s a silent thief of water and money. Many times, this common problem is caused by a simple worn-out part inside the faucet handle. Let’s get that drip stopped!
What’s Causing the Drip?
Most faucet drips are caused by a faulty washer or O-ring. These small, inexpensive rubber parts seal the faucet and stop water flow when the handle is turned off. Over time, they can harden, crack, or wear down, allowing a small amount of water to seep through.
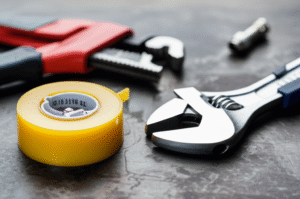
Tools You’ll Need
Before you start, gather these basic tools. Having everything ready makes the job much smoother.
- Adjustable wrench
- Phillips head screwdriver
- Flathead screwdriver
- Replacement washers and O-rings (it’s a good idea to have a small variety pack!)
- Rag or towel
- Small bucket or bowl
Step-by-Step Guide to Fixing a Dripping Faucet
1. Turn Off the Water Supply: This is the MOST important step for safety. Look under the sink for two shut-off valves, one for hot water and one for cold. Turn both clockwise until they are snug. If you don’t see valves under the sink, you might need to turn off the main water supply to your house.
2. Drain the Faucet: Turn the faucet handle on to release any remaining water in the pipes.
3. Remove the Handle: Faucet handles typically have a decorative cap that hides a screw. Gently pry off the cap with a flathead screwdriver or a putty knife. Then, use the screwdriver to remove the screw holding the handle in place. Now, carefully pull the handle straight up or off the faucet stem.
4. Disassemble the Faucet (The Fun Part!): Depending on your faucet type (there are several, like compression, cartridge, ball, or ceramic disk), the next part varies slightly. For many common faucets, you’ll see a packing nut. Use your adjustable wrench to unscrew this nut counter-clockwise. Once removed, you should be able to carefully pull out the faucet stem or cartridge.
5. Inspect and Replace the Washer/O-Ring: At the very bottom of the stem, you’ll find a rubber washer, often held in place by a screw. Remove this screw and the old washer. You might also find O-rings on the stem itself. Inspect them for wear. Replace the old washer and any worn O-rings with new ones of the exact same size. A little plumber’s grease can help new O-rings seat properly. To learn more about different faucet types and their specific parts, websites like Popular Mechanics offer detailed guides.
6. Reassemble the Faucet: Put everything back together in reverse order. Screw the packing nut back on, replace the handle, and secure it with the screw. Don’t over-tighten anything; snug is usually enough.
7. Turn Water Back On: Slowly turn the shut-off valves back on (counter-clockwise).
8. Test Your Work: Turn the faucet on and off a few times. Check for any drips or leaks.
Pros and Cons of DIY Faucet Repair
| Pros | Cons |
| :———————————- | :——————————————– |
| Saves Money on Plumber Fees | Can be time-consuming for beginners |
| Builds DIY Confidence | Risk of damaging faucet if not careful |
| Prevents Water Waste | Requires specific replacement parts |
| Immediate gratification with no drip | May not fix more complex internal issues |
If the drip persists after replacing the washer and O-ring, your faucet might have a more complex issue, like a damaged valve seat, which a plumber might need to address.
Tip 2: Banish Clogged Drains Effectively
A slow-draining sink or a tub filled with standing water is another common household frustration. While many reach for chemical drain cleaners, these can be harsh on your pipes and the environment. Let’s explore some safer, more effective DIY methods!
Why Drains Get Clogged
Drains typically clog due to a buildup of soap scum, hair, food particles, grease, and other debris. Over time, these materials accumulate, narrowing the pipe and eventually blocking water flow.
Safe and Simple Drain Clearing Methods
Here are a few methods you can try, starting with the gentlest:
Method A: The Hot Water and Dish Soap Flush
This is a great first step for minor grease clogs.
1. Boil a kettle of water.
2. Pour a generous amount of dish soap (about a quarter cup) down the drain.
3. Carefully pour the boiling water down the drain. The hot water and soap work together to break down greasy residue.
4. Let it sit for 10-15 minutes.
5. Flush with more hot tap water.
Method B: The Baking Soda and Vinegar Trick
This is a classic for a reason! It’s a natural way to create a fizzy reaction that can loosen many types of blockages.
1. Remove any standing water from the sink or tub.
2. Pour about half a cup of baking soda down the drain.
3. Follow with about half a cup of white vinegar. It will immediately start to fizz.
4. Immediately cover the drain with a stopper or a damp cloth to direct the fizzing action downwards.
5. Let it sit for at least 30 minutes, or even an hour for tougher clogs.
6. Pour a kettle of boiling water down the drain to flush away the loosened debris.
7. Repeat if necessary.
Method C: Using a Plunger
For stubborn clogs, a good old-fashioned plunger can be surprisingly effective. The key is to create a seal.
1. Ensure there’s enough water in the sink or tub to cover the rubber cup of the plunger. If not, add some.
2. For sinks with an overflow drain, block it with a wet rag to create a better seal and maximize suction.
3. Place the plunger over the drain opening, ensuring a tight seal.
4. Pump the plunger up and down vigorously for about 20-30 seconds.
5. Quickly pull the plunger up to break the seal.
6. Repeat this process a few times. You might hear gurgling or splashing as the clog breaks free.
Method D: The Drain Snake (Auger)Advanced Beginner
If the above methods don’t work, a drain snake is your next best bet. This is a flexible coil of wire that you feed into the drain to break up or retrieve the clog.
1. Feed the end of the drain snake into the drain opening.
2. Once you feel resistance (this is likely the clog), turn the handle of the snake to either break up the clog or hook onto it.
3. Slowly pull the snake back out, bringing the debris with it.
4. You can find great guides on using a drain snake from resources like the This Old House website.
5. After clearing the drain, run hot water for a few minutes to flush out any remaining debris.
Things to Avoid with Clogged Drains
Harsh Chemical Cleaners: These can damage pipes, especially older ones, and are harmful if they splash on skin or eyes.
Forcing the Plunger: Too much force can sometimes dislodge pipes under the sink.
Ignoring the Problem: Small clogs can grow into major blockages, potentially causing backups and water damage.
Tip 3: Taming a Running Toilet
A constantly running toilet is not only wasteful but can also be irritating. The sound of water filling the tank when it shouldn’t be is a clear sign something’s amiss. Fortunately, this is often a simple fix that most people can handle.
Understanding How a Toilet Works (The Basics)
Your toilet tank has a few key components:
Flapper: A rubber or plastic flap at the bottom that seals the tank. When you flush, it lifts to let water into the bowl.
Fill Valve (Float Valve): This mechanism refills the tank after a flush and shuts off when the water reaches the correct level.
Float: Attached to the fill valve, it signals when to stop filling.
Overflow Tube: A tall pipe that prevents the tank from overflowing; excess water runs down it into the bowl.
A running toilet usually means the flapper isn’t sealing properly, or the fill valve is set too high.
Tools You Might Need
Screwdriver (usually Phillips head)
Adjustable wrench (optional, for some valve types)
Replacement flapper (very inexpensive and available at most hardware stores)
Replacement fill valve (if needed)
Rag
Step-by-Step Guide to Stopping a Running Toilet
1. Turn Off the Water Supply: Look for a small valve on the wall behind the toilet, connected to the tank by a flexible hose. Turn this valve clockwise to shut off the water.
2. Flush the Toilet: Lift the tank lid and flush the toilet. This will empty most of the water from the tank.
3. Inspect the Flapper: Look at the rubber flapper at the bottom of the tank. Is it warped, cracked, or worn out? Is the chain connecting it to the flush lever too tight or too loose?
Chain Adjustment: If the chain is too tight, it might be lifting the flapper slightly. Try giving it a bit more slack by moving the connection to a lower hole on the flush lever arm. If it’s too loose, the flapper might not lift fully when you flush; shorten the chain slightly.
Replace the Flapper: If the rubber flapper looks damaged, it’s time to replace it. They are usually quite simple: just unhook the chain from the lever and pull the rubber seal off the overflow tube, then attach the new one and reconnect the chain. Make sure to get a universal flapper that fits most toilets.
4. Check the Fill Valve and Float: If the flapper seems fine, the problem might be with the fill valve. The water level in the tank should be about an inch below the top of the overflow tube. If the water level is higher, the float might be set incorrectly, or the valve itself might be faulty, causing water to constantly run into the overflow tube.
Adjusting the Float: Many floats have a small screw or a clip mechanism to adjust their height. Try lowering the float slightly so the fill valve shuts off at a lower water level.
Replacing the Fill Valve: If adjusting the float doesn’t help, the fill valve might be the culprit. This is a slightly more involved repair, but still manageable. You’ll need to turn off the water, disconnect the supply line, remove the old valve assembly, and install the new one. HomeTips has a great visual guide for this common repair.
5. Turn Water Back On and Test: Slowly turn the shut-off valve counter-clockwise. Let the tank refill. Listen for any running water. Once the tank is full, check if the water level is correct and if the running has stopped.
Table: Common Toilet Running Issues and Solutions
| Issue | Cause | Solution |
| :————————- | :—————————————————————– | :————————————————————————————————————————————- |
| Constant Toilet Running | Flapper not sealing properly (worn, warped, or bent chain) | Check and adjust chain. Replace the flapper if worn or warped. |
| Toilet Runs Intermittently | Water level in tank is too high, spilling into the overflow tube. | Adjust the float arm/cup down so that the fill valve shuts off when the water is about 1 inch below the top of the overflow tube. |
| Water Leaking into Bowl | Faulty fill valve (even when shut off, it lets water through). | Replace the fill valve assembly. |
Fixing a running toilet is a fantastic way to conserve water and reduce your utility bills.
Your Plumbing Toolkit: Essential Items
Having a few basic plumbing tools on hand can transform you from a panicked homeowner to a confident DIYer. Here’s a quick rundown of some must-haves:
Adjustable Wrench: The king of versatility. It can grip nuts and bolts of various sizes, making it perfect for faucet repairs and under-sink work.
Pipe Wrench: If you find yourself working with metal pipes, particularly older ones, a pipe wrench offers a more secure, toothy grip to prevent slippage.
Plumber’s Tape (Teflon Tape): Essential for creating watertight seals on threaded pipe connections.
Plumber’s Putty: Used to create a waterproof seal around drains.
Bucket: Always keep a bucket handy to catch drips and leaks when you’re working under sinks or toilets.
Various Screwdrivers: Both Phillips and flathead screwdrivers in different sizes are crucial for disassembling handles and fixtures.
Pliers: Needle-nose and channel-lock pliers are useful for gripping, bending, and reaching into tight spots.
Drain Snake/Auger: For tackling those stubborn clogs.
Safety Glasses and Gloves: Always protect your eyes from debris and your hands from potential irritants.
Building this basic toolkit over time is an investment that will pay off every time you can say, “I fixed that myself!”
FAQs: Your Plumbing Questions Answered
Q1: How often should I check my plumbing for leaks?
It’s a good habit to do a quick visual check of your faucets, pipes under sinks, and around your toilet at least once a month. Look for any signs of dampness, water stains, or drips. A more thorough check, perhaps including testing your main shut-off valve, is wise every six months to a year.
Q2: Is it safe to pour bleach down a drain to clean it?
Generally, it’s best to avoid pouring bleach or other harsh chemicals down your drains. While they might clear a minor clog, they can corrode pipes over time, especially older metal pipes. They can also be harmful to your septic system if you have one. Natural methods like baking soda and vinegar, or a plunger, are safer alternatives.
Q3: My toilet wobbles when I sit on it. What should I do?
A wobbly toilet usually means the bolts securing it to the floor (toilet flange bolts) have become loose. This is something you should address quickly, as a loose toilet can damage the seal between the toilet and the drainpipe, potentially causing leaks. You can often tighten these bolts gently with a screwdriver or wrench. If they’re rusted or the wax ring seal has failed, you might need to replace the bolts and possibly the wax ring.
Q4: What’s the best way to prevent drain clogs?
Prevention is key!
- Use drain strainers in sinks and showers to catch hair and debris.
- Avoid pouring grease or coffee grounds down the kitchen sink.
- Dispose of food scraps in the trash or compost bin.
- Run hot water down the drain for a minute or two after using the kitchen sink to help flush away any residual grease.
Q5: Can I fix a persistently running toilet myself, or is it time for a professional?
Most running toilet issues, like a worn flapper or an improperly adjusted float, are very manageable DIY fixes. You can usually identify the problem by looking inside the tank. If, after checking the fl