

Unlock Home Comfort: Master 35 Essential Plumbing Skills for DIY Success! Learn proven, beginner-friendly techniques to tackle leaks, clogs, and installations, saving time and money. Become your own home plumbing hero with our easy-to-follow guide.
Plumbing problems can be a real headache, can’t they? That drip, drip, drip from a faucet or a sudden clog in your sink always seem to happen at the worst possible moment. It’s easy to feel overwhelmed, thinking you need a professional plumber for every little thing. But what if I told you that with a few key skills and some simple tools, you can handle many common plumbing tasks yourself? It’s true! You don’t need to be a master plumber to keep your home running smoothly. We’re here to show you how, step by step, making plumbing less intimidating and more manageable.
Why Learn Basic Plumbing Skills?
As a homeowner, knowing your way around your home’s plumbing system is incredibly empowering. It means you can fix minor issues before they turn into major, expensive disasters. Think about it: a small leak unchecked can lead to water damage, mold, and higher water bills. A clogged drain can stop your routine dead in its tracks. By understanding these fundamental skills, you gain the confidence to tackle these everyday annoyances, saving you money on service calls and giving you a sense of accomplishment. Plus, you’ll be preserving the integrity and comfort of your home, ensuring everything runs as it should.
Essential Plumbing Skills for Every Homeowner
Let’s dive into the core skills that will make you a more confident and capable homeowner when it comes to plumbing. We’ll break these down into categories, making it easy to digest and understand.
I. Understanding Your Plumbing System
Before you can fix a leaky pipe, it helps to know what you’re dealing with. Understanding the basics of your home’s plumbing anatomy is the first step to effective troubleshooting and repair.
1. Identifying Different Pipe Materials
Homes use various pipe materials: copper, PEX (cross-linked polyethylene), PVC (polyvinyl chloride), and CPVC (chlorinated polyvinyl chloride). Each has different properties and connection methods.
- Copper: Durable, corrosion-resistant, but can be pricey and requires soldering or compression fittings.
- PEX: Flexible, affordable, and easy to connect with crimp or expansion fittings. Great for hot and cold water lines.
- PVC: Typically used for drain, waste, and vent (DWV) systems. It’s rigid and joined with solvent cement.
- CPVC: Similar to PVC but can handle hotter water, making it suitable for hot water supply lines.
2. Locating Your Main Water Shut-Off Valve
This is crucial! Knowing where to turn off the water supply to your entire house can prevent major floods during a plumbing emergency. It’s typically found in a basement, crawl space, garage, or utility closet, often near where the water line enters your home.
Actionable Tip: Test your shut-off valve periodically to ensure it works smoothly. If it’s stiff, a little lubrication can help. For more on home water systems, check out the U.S. Environmental Protection Agency’s WaterSense program for common household water uses.
3. Understanding Water Pressure
Ideal water pressure in a home is usually between 40-60 PSI (pounds per square inch). Too much can damage pipes and fixtures; too little can make daily tasks frustrating. You can measure this with a simple pressure gauge that attaches to an outdoor faucet or washing machine hookup.
4. Recognizing Different Fixture Types
Knowing the difference between a two-handle faucet, a single-handle faucet, a tank-style toilet, and a tankless toilet helps you understand how they work and what parts might need repair or replacement.
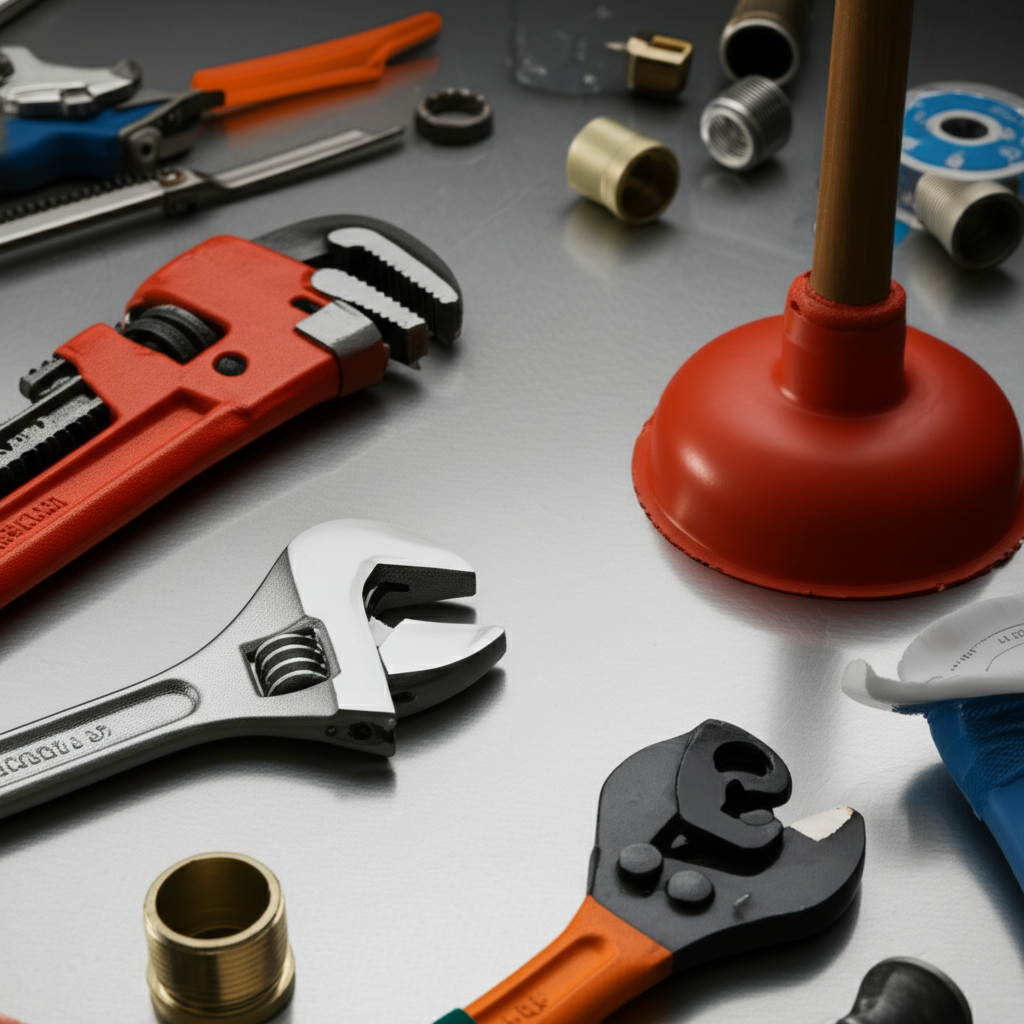
II. Basic Plumbing Tool Proficiency
Having the right tools is half the battle. These are the workhorses of any plumbing job, big or small.
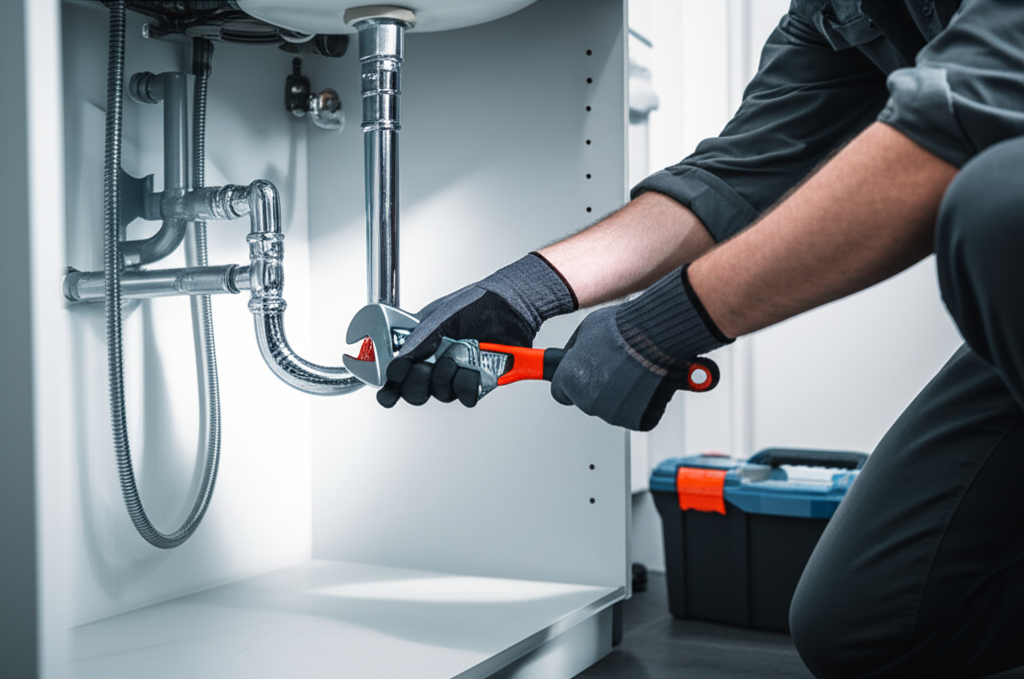
5. Using a Pipe Wrench
Pipe wrenches are designed with serrated jaws that grip pipes tightly, allowing you to turn them. They come in various sizes and have adjustable jaws.
How to Use: Adjust the upper jaw to fit the pipe, then turn the handle to tighten the lower jaw onto the pipe. Always remember “righty-tighty, lefty-loosey” for most threaded connections.
6. Using an Adjustable Wrench (Crescent Wrench)
Versatile for various nuts and bolts, an adjustable wrench can be used on certain plumbing fittings. Make sure the jaws are snug to avoid stripping nuts or bolts.
7. Using Pliers (Various Types)
Channel-lock pliers are excellent for gripping and turning larger pipes or fittings, while slip-joint pliers and needle-nose pliers are useful for smaller tasks and reaching tight spots.
8. Using a Plunger
A simple force of nature for unclogging drains! There are two main types: the cup plunger (good for sinks and tubs) and the flange plunger (better for toilets with its extra seal).
How to Use: Create a tight seal over the drain opening and give several firm, downward plunges, then pull up sharply. Repeat as needed.
9. Using a Drain Snake (Auger)
For tougher clogs that a plunger can’t handle, a drain snake is essential. It’s a flexible metal cable that you feed into the drain to break up or pull out obstructions.
10. Using a Basin Wrench
This specialized tool makes replacing faucets much easier. Its long shaft and pivoting jaw allow you to reach and loosen or tighten nuts located in tight spaces under the sink.
III. Common Plumbing Repairs & Maintenance
These are the everyday issues that most homeowners face. Mastering these will save you a lot of time and money.
11. Fixing a Leaky Faucet
A common culprit is a worn-out washer or O-ring inside the faucet handle. You’ll need to turn off the water supply to the fixture, disassemble the handle (often with a screwdriver!), replace the faulty part, and reassemble.
12. Unclogging a Sink or Tub Drain
Start with a plunger. If that fails, try a drain snake. For persistent clogs, a mixture of baking soda and vinegar can sometimes help, followed by hot water. Avoid harsh chemical drain cleaners, as they can damage pipes.
DIY Drain Cleaner Alternative: Mix 1/2 cup baking soda with 1/2 cup white vinegar. Pour the baking soda down the drain, followed by the vinegar. Let it fizz for 30 minutes, then flush with hot water. This is generally safer for your pipes than commercial chemical cleaners.
13. Fixing a Running Toilet
Most often, a running toilet is caused by a faulty flapper valve in the tank that isn’t creating a proper seal, or an improperly adjusted float ball. These are usually inexpensive parts to replace from a hardware store.
14. Replacing a Toilet Flapper
After shutting off the water supply to the toilet, drain the tank by flushing. Remove the old flapper by detaching it from the flush valve and chain. Attach the new flapper and reconnect the chain, ensuring there’s just a little slack.
15. Cleaning a Clogged Toilet
Use a toilet plunger for immediate clogs. For minor blockages, sometimes letting it sit for a while helps, or you can try a toilet auger (specifically designed for toilets). Pouring hot water (not boiling) into the bowl can also sometimes help break down waste.
16. Replacing a Showerhead
This is one of the easiest DIY upgrades! Turn off the water supply to the shower if possible (or know that a little water will come out). Unscrew the old showerhead by hand or with pliers (wrap the shower arm with a cloth to prevent scratching). Clean the threads on the shower arm, apply plumber’s tape tightly, and screw on the new showerhead.
Plumber’s Tape Tip: Always wrap plumber’s (PTFE) tape around the threads in a clockwise direction. This ensures it tightens as you screw on the fitting.
17. Clearing a Clogged Garbage Disposal
First, NEVER put your hand into a garbage disposal. Turn off the power to the unit at the breaker box. Use tongs or pliers to remove visible obstructions. You can often clear jams by inserting an Allen wrench into the hex-shaped hole on the bottom center of the unit and turning it back and forth.
18. Identifying and Fixing a Toilet Leak (Silent Leaks)
A common “silent” leak culprit is the flapper valve. To test, add a few drops of food coloring to the toilet tank. If the color appears in the bowl within 15-20 minutes without flushing, the flapper is leaking.
19. Insulating Pipes
Especially in colder climates, insulating exposed water pipes in unheated areas (like basements or crawl spaces) can prevent them from freezing and bursting. Foam pipe sleeves are easy to install.
20. Tightening Loose Fixtures
Loose sink handles, shower handles, or even entire faucets can often be tightened by locating and tightening mounting nuts or set screws, usually found underneath the fixture.
IV. Plumbing Installation & Replacement Skills
Ready to tackle slightly more involved tasks? These skills add value and functionality to your home.
21. Installing a New Faucet
This involves turning off the water, disconnecting supply lines, removing the old faucet, cleaning the sink surface, installing the new faucet with its gasket or plumber’s putty, reconnecting supply lines, and turning the water back on to check for leaks.
22. Replacing a Toilet Wax Ring
This ensures a watertight seal between your toilet and the drain pipe. You’ll need to unbolt the toilet, lift it off, scrape away the old wax, position the new wax ring, and set the toilet back down firmly.
23. Installing a Showerhead or Handheld Shower System
Similar to replacing a showerhead (skill #16), but may involve mounting a bracket for a handheld shower. Ensure all connections are snug and sealed with plumber’s tape.
24. Replacing a Faucet Cartridge or Washer
For single-handle faucets, the cartridge controls water flow and temperature. For older two-handle faucets, it’s often a rubber washer. Disassemble the handle, remove the old part, take it to the store to match it, and install the new one.
25. Installing a Washing Machine Water Supply Hose
Ensure the water valves controlling the hot and cold supply are turned off. Screw the new hoses onto the valves and the washing machine, hand-tightening first, then a quarter-turn with pliers if needed. Turn the water back on slowly and check for leaks.
26. Installing a Shower Valve Cartridge
This is a more involved repair, often required for a leaking or malfunctioning shower valve. It typically involves removing the shower handle and escutcheon plate to access the cartridge, then replacing it. Watch a detailed video specific to your valve model.
27. Installing a Toilet Paper Holder or Towel Bar
While not strictly “water” plumbing, it relates to bathroom fixture installation. Understanding how to securely mount these to your wall is key, often involving wall anchors or finding studs.
28. Replacing Hose Bibs (Outdoor Faucets)
These are susceptible to freezing. If yours is damaged or constantly dripping, you might need to shut off the water inside, unscrew the old hose bib from behind the wall, and install a new one, ensuring a good seal.
V. Safety & Best Practices
Safety first! Plumbing involves water and sometimes pressure, so knowing these practices is non-negotiable.
29. Turning Off Water Supply to Fixtures
Most fixtures have individual shut-off valves — usually under sinks or behind toilets. Knowing how to use these is essential for targeted repairs.
30. Working with Plumber’s Putty vs. Plumber’s Tape
Plumber’s putty creates a watertight seal around fixtures like sink drains or faucet bases. Plumber’s tape (PTFE tape) is used on threaded pipe connections to ensure a watertight seal and make future disassembly easier.
31. Protecting Yourself from Water Damage
Always have towels, buckets, and possibly a wet/dry vacuum on hand when working on plumbing to contain any spills or leaks.
32. Identifying Proper Venting
Plumbing systems need vents to allow air into the pipes to prevent siphoning and equalize pressure, helping water flow smoothly. While you won’t typically fix vents yourself, understanding their importance helps diagnose slow drains or gurgling sounds. For more on plumbing system design read International Code Council’s Plumbing Codes guidance.
33. Hot Water Heater Safety
Know how to shut off your water heater in an emergency. Understand the T&P (Temperature and Pressure) relief valve and its function. Never tamper with it without fully understanding the risks.
34. Avoiding Drain Clogs with Proper Disposal Habits
Don’t pour grease, coffee grounds, eggshells, or fibrous produce (like celery or potato peels) down your sink or garbage disposal. These are common culprits for clogs.
35. When to Call a Professional
While these skills are valuable, some jobs are best left to licensed plumbers. This includes major pipe repairs, gas line work, main sewer line issues, or if you’re simply uncomfortable with a task. Knowing your limits is a crucial skill in itself!
Tool Checklist for Beginners
Having the right tools makes any plumbing task easier and safer. Here’s a starter kit:
| Essential Tool | Purpose | Why You Need It |
|---|---|---|
| Plunger (Cup & Flange) | Unclogging drains and toilets | Your first line of defense against blockages. |
| Adjustable Wrenches (2 sizes) | Tightening/loosening nuts and bolts on fixtures | Versatile for various sizes of fittings. |
| Pipe Wrenches (10-inch & 14-inch) | Gripping and turning pipes | Essential for threaded pipe connections. |
| Pliers (Channel Lock & Needle-Nose) | Gripping, bending, and cutting | For various gripping tasks and accessing tight spaces. |
| Screwdriver Set (Phillips & Flathead) | Disassembling fixtures and access panels | Many plumbing components are secured with screws. |
| Basin Wrench | Tightening/loosening faucet nuts under sinks | A lifesaver for faucet replacements. |
| Drain Snake/Auger (Handheld) | Clearing stubborn clogs | More effective than plungers for deeper blockages. |
| PTFE Tape (Plumber’s Tape) | Sealing threaded pipe connections | Ensures watertight seals and easier future disassembly. |
| Bucket and Towels | Catching water and drying | Essential for containing messes during repairs. |
| Safety Glasses | Protecting eyes from debris | Always protect your eyes when working. |
Frequently Asked Questions (FAQ)
Q1: How do I know if I have a leak?
A1: Look for signs like water stains on ceilings or walls, mold or mildew growth, the sound of running water when no fixtures are in use, a constantly running toilet, or an unusually high water bill. You can also check your water meter for continuous movement when all water is turned off.
Q2: What’s the best way to prevent frozen pipes?
A2: Insulate exposed pipes in unheated areas with foam sleeves. During very cold weather, let a faucet drip slightly to keep water moving. Open cabinet doors under sinks to allow warmer air to circulate around the pipes.
Q3: Can I pour Drano or other chemical drain cleaners down my drains safely?
A3: While they can work, chemical drain cleaners are highly corrosive and can damage pipes over time, especially older ones. They can also be dangerous if they splash. It’s generally safer and more environmentally friendly to use mechanical methods like plungers and drain snakes, or natural solutions like baking soda and vinegar.
Q4: My toilet is wobbling. What should I do?
A4: A wobbly toilet usually means the bolts securing it to the floor (flange bolts) are loose, or