
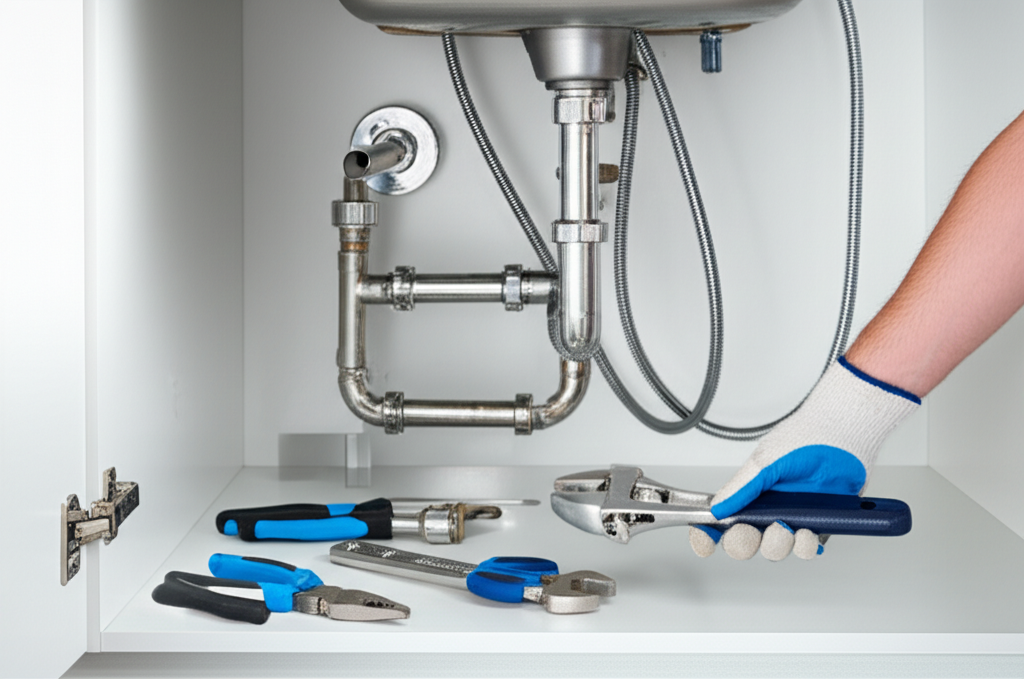

5 Plumbing Fixes: Proven & Effortless for Homeowners
Got a leaky faucet? A slow drain? These little plumbing hiccups can be super annoying and sometimes feel overwhelming. But guess what? Many common plumbing problems are totally fixable with a little know-how and the right approach. You don’t always need to call a plumber! This guide is here to help. We’ll walk through five simple fixes that are surprisingly easy. You’ll feel more confident tackling these yourself. Let’s dive in and make your home plumbing worries disappear, one simple fix at a time.
Quick Summary: Your Go-To Plumbing Solutions
This article covers five essential plumbing fixes that beginners can achieve. We’ll tackle everything from a dripping faucet to a clogged drain, providing clear, step-by-step instructions. You’ll learn about the tools you need and how to approach each task safely and effectively. Plus, we’ve included handy tables and an FAQ section to answer your common questions. Get ready to build your DIY confidence!
Here’s a quick look at what we’ll cover:
- Fixing a Dripping Faucet
- Clearing a Slow-Draining Sink
- Unclogging a Toilet
- Dealing with a Running Toilet
- Replacing a Worn Showerhead
Understanding Basic Plumbing: Your Foundation
Plumbing might sound complicated, but at its heart, it’s about moving water where it needs to go. Think of your home’s pipes like veins and arteries. They carry clean water in and wastewater out. Knowing a few basic plumbing principles can save you time, money, and a lot of hassle. Safety is always the top priority when working with water and your plumbing system. Always remember to turn off the water supply before you start any repair. This prevents unexpected floods and keeps you safe.
Most household plumbing systems rely on water pressure to work. When you turn on a faucet, that pressure pushes water through the pipes to your fixture. When you flush a toilet or drain a sink, gravity and the system’s design help move the wastewater away. Understanding this simple flow helps you pinpoint where a problem might be occurring. For more in-depth information on how water systems work, you can explore resources from organizations like the U.S. Environmental Protection Agency’s WaterSense program, which offers insights into water efficiency and plumbing technologies.
Five Effortless Plumbing Fixes Anyone Can Do
1. Fixing a Dripping Faucet
A persistent drip from your faucet isn’t just annoying; it wastes a lot of water. Fixing it is usually quite straightforward. Most drips are caused by a worn-out washer or O-ring inside the faucet. These small rubber parts create a seal. When worn, water can sneak past.
Tools You’ll Need:
- Adjustable wrench
- Screwdriver (Phillips and flathead)
- Plumber’s grease (optional, but helpful)
- Replacement washers and O-rings (it’s good to have a variety pack)
- Rag or old towel
Step-by-Step Guide:
- Turn off the water supply: Look for the shut-off valves under the sink. Turn them clockwise until they are snug. If you can’t find these, you’ll need to turn off the main water supply valve for your house.
- Drain the faucet: Turn the faucet handle(s) on to release any remaining water in the pipes.
- Disassemble the faucet handle: You’ll usually find a decorative cap on the handle. Pry this off gently with a flathead screwdriver. Then, unscrew the handle screw. Lift the handle straight up and off.
- Remove the packing nut and stem: Use your adjustable wrench to unscrew the packing nut. Once loose, you should be able to pull out or unscrew the valve stem.
- Replace the washer and O-ring: At the bottom of the stem, you’ll see a rubber washer held in place by a screw. Unscrew this screw and replace the washer. Also, check for any O-rings around the stem and replace them if they look worn or cracked. Apply a little plumber’s grease to the new parts.
- Reassemble the faucet: Put everything back in reverse order. Tighten the packing nut and screw the handle back on.
- Turn the water back on: Slowly turn the shut-off valves back on. Check for leaks. If it still drips, you might need to try again or consider replacing the entire faucet.
Why it’s easy: This fix involves a few small parts that wear out over time. Replacing them is like swapping out a worn gasket. Most of the time, the screws and parts are pretty standard.
2. Clearing a Slow-Draining Sink
Is your sink draining slower than usual? This is often caused by a buildup of hair, soap scum, and other gunk in the pipe. Before reaching for harsh chemical drain cleaners, try some simpler, more eco-friendly methods.
Tools You’ll Need:
- Plunger
- Baking soda
- Vinegar
- Hot water
- Wire hanger (or drain snake if you have one)
- Bucket
Step-by-Step Guide:
- Plunge it: Ensure there’s enough water in the sink to cover the plunger’s cup. Create a good seal with the plunger over the drain. Pump the plunger vigorously up and down several times. Lift and check if the water drains. Repeat if needed.
- Hot water flush: Boil a kettle of water. Carefully pour the hot water directly down the drain. This can help melt away grease and soap buildup. Caution: Avoid this if you have PVC pipes and have recently used chemical drain cleaners, as it can cause reactions.
- Baking soda and vinegar method: Pour about half a cup of baking soda down the drain, followed by half a cup of white vinegar. It will fizz. Cover the drain opening with a cloth or stopper immediately. Let it sit for about 30 minutes. Then, flush with hot water.
- Manual removal: If the clog is near the surface, you can try to pull it out. For a sink, you might be able to unscrew the drain stopper, or use a bent wire coat hanger to fish out debris. Place a bucket underneath if you’re working with the P-trap.
Why it’s easy: These methods use common household items or simple tools. They target the clog physically or with safe chemical reactions, avoiding the need to disassemble complex parts.
3. Unclogging a Toilet
A clogged toilet is a common and frustrating problem. Most clogs can be cleared with a toilet plunger. The key is to create a good seal and use the right technique.
Tools You’ll Need:
- Flange plunger (specifically designed for toilets, with an extended rubber rim)
- Rag or towel (to catch any drips)
Step-by-Step Guide:
- Don’t flush again! If the water is already high, flushing again will likely cause an overflow.
- Get the right plunger: Use a flange plunger. Its shape is designed to fit snugly into the toilet bowl’s drain hole.
- Create a seal: Insert the plunger into the bowl, ensuring the rubber cup completely covers the drain hole.
- Plunge with force: Push the plunger down with a slow, steady motion to push out air. Then, pull it up sharply to create suction. Repeat this plunging motion vigorously 15-20 times.
- Check the drain: Lift the plunger. If the water level drops and the toilet seems to be draining, you’ve likely cleared the clog.
- Test flush: Wait a few minutes, then try a test flush. If the water level remains normal, congratulations! If it clogs again, you may need to try plunging again, use a toilet auger (snake), or call a professional.
Why it’s easy: A plunger is a simple tool, and the technique is about building pressure and suction. It’s an indirect fix that leverages physics to move the obstruction.
4. Dealing with a Running Toilet
A toilet that keeps running after you flush sounds like a small issue, but it wastes a staggering amount of water. This problem is almost always located inside the toilet tank. The most common culprits are a faulty flapper or an improperly adjusted float.
Tools You’ll Need:
- Bowl of vinegar
- Scrub brush
- New flapper (if needed)
- Screwdriver or pliers (for float adjustment)
Step-by-Step Guide:
- Identify the source: Take the lid off the toilet tank. Listen for where the water is coming from. Usually, it’s the flapper valve at the bottom of the tank, or water slowly trickling into the overflow tube.
- Check the flapper: The flapper is the rubber or plastic stopper at the bottom that seals the tank’s water in. It might be worn out, or the chain connecting it to the handle might be too tight or too loose. If the flapper looks cracked or hardened, it needs to be replaced. They are inexpensive and easy to swap out. Just unhook the old one and hook the new one in place.
- Adjust or replace the float: The float controls when the tank stops filling. If it’s set too high, water will constantly run into the overflow tube. Locate the float mechanism. Usually, there’s a screw or a clip that allows you to adjust its height. Lower the float so the water level stops about an inch below the overflow tube. If the float itself is waterlogged and sinks, it needs to be replaced.
- Clean the flapper seat: Sometimes, mineral deposits can build up on the rim where the flapper seals. You can clean this gently with a bit of vinegar and a soft brush or cloth.
- Test it: After making adjustments or replacing parts, let the tank fill. Then, flush the toilet and listen. The running sound should be gone.
Why it’s easy: The parts inside a toilet tank are designed to be accessible and relatively simple to replace or adjust. The goal is to fix the seal or the water-level sensor.
5. Replacing a Worn Showerhead
A showerhead can become clogged with mineral deposits over time, reducing water pressure, or it might just be old and worn out. Replacing it is a quick and easy upgrade that can significantly improve your shower experience.
Tools You’ll Need:
- Adjustable wrench
- Plumber’s tape (Teflon tape)
- Old rag
Step-by-Step Guide:
- Remove the old showerhead: Place a rag in the bottom of your shower or tub to catch any drips. Use your adjustable wrench to loosen the old showerhead from the shower arm. Turn it counter-clockwise. It should unscrew with moderate effort.
- Clean the shower arm threads: Once the old showerhead is off, inspect the threads on the shower arm. You’ll want to remove any old plumber’s tape or debris. You can use your rag or a small brush.
- Prepare the new showerhead: Wrap plumber’s tape clockwise around the threads of the shower arm. This tape helps create a watertight seal and prevents leaks. Apply 3-4 wraps.
- Install the new showerhead: Screw the new showerhead onto the shower arm by hand, turning it clockwise. Make sure it’s snug.
- Tighten with a wrench: Use your adjustable wrench to give the showerhead a final tightening, about a quarter-turn past hand-tight. Don’t overtighten, as this can damage the threads or the fixture.
- Test for leaks: Turn on the water. Check the connection between the shower arm and the new showerhead for any drips. If you see any, try tightening it a little more.
Why it’s easy: This is essentially a “screw on, screw off” job. The main skill is applying plumber’s tape correctly to ensure a good seal.
Plumbing Fixes: A Quick Comparison
Here’s a handy table to summarize the difficulty, time, and potential savings of each fix:
| Plumbing Fix | Estimated Difficulty | Estimated Time | Potential Savings | Key Skill |
|---|---|---|---|---|
| Dripping Faucet | Easy | 30-60 minutes | $50 – $200 (cost of plumber call-out) | Part identification & replacement |
| Slow-Draining Sink | Very Easy | 15-30 minutes | $75 – $150 (cost of plumber call-out) | Using basic household tools |
| Unclogging a Toilet | Very Easy | 10-20 minutes | $100 – $250 (cost of plumber call-out) | Proper plunging technique |
| Running Toilet | Easy | 30-60 minutes | $75 – $200 (cost of plumber call-out) | Identifying faulty tank parts |
| Replacing Showerhead | Very Easy | 15-30 minutes | $75 – $150 (cost of plumber call-out) | Using plumber’s tape correctly |
It’s clear that tackling these yourself can lead to significant savings!
When to Call a Professional Plumber
While many minor plumbing issues are DIY-friendly, it’s important to know your limits. Some problems require specialized tools, expertise, or understanding your home’s complex system. It’s always better to call a licensed plumber if:
- You’re dealing with a major leak or burst pipe.
- You suspect a problem with your main water line or sewer system.
- You’ve tried basic fixes without success, and the problem persists or worsens.
- You’re uncomfortable with any part of the repair process or unsure about safety.
- You need to access pipes behind walls or in your foundation.
Dealing with water damage can be expensive and lead to mold growth. So, if a job feels too big, too risky, or too complex, don’t hesitate to reach out to a qualified professional. Websites like Angi can offer advice on finding reputable plumbers in your area.
Frequently Asked Questions (FAQ)
Q1: How do I know if I should fix a plumbing problem myself or call a plumber?
Most homeowners can tackle simple fixes like dripping faucets, slow drains, or running toilets. These usually involve a few basic tools and readily available replacement parts. However, if you’re dealing with a major leak, a burst pipe, a sewer blockage, or if you’re simply not comfortable with the repair, it’s best to call a professional plumber. Safety and preventing further damage are key.
Q2: What are the most common causes of a clogged toilet?
The most frequent culprits are excessive toilet paper, non-flushable items flushed down the toilet (like wet wipes, paper towels, or feminine hygiene products), or a blockage further down the drainpipe. Sometimes, a partial clog can be caused by hard water mineral buildup over time.
Q3: Can I use chemical drain cleaners for slow drains?
While chemical drain cleaners can work, they are often harsh and can damage pipes, especially older ones, and the environment. It’s generally recommended to try mechanical methods first, like plunging or using a drain snake, or natural remedies like baking soda and vinegar. If you do use a chemical cleaner, follow the instructions precisely and ensure good ventilation.