


“`html
“28” Plumbing Pipe Replacement: Your Genius Cost-Saving Guide
Got a leaky pipe? It’s a common plumbing headache that can cause real stress and water damage. Many homeowners worry about the cost of fixing these problems. But don’t panic! Replacing a “28” plumbing pipe doesn’t have to drain your wallet. We’ll walk through it, step by simple step. You’ll learn what to expect and how to save money. Let’s get your pipes fixed without breaking the bank!

What Exactly is a “28” Plumbing Pipe?
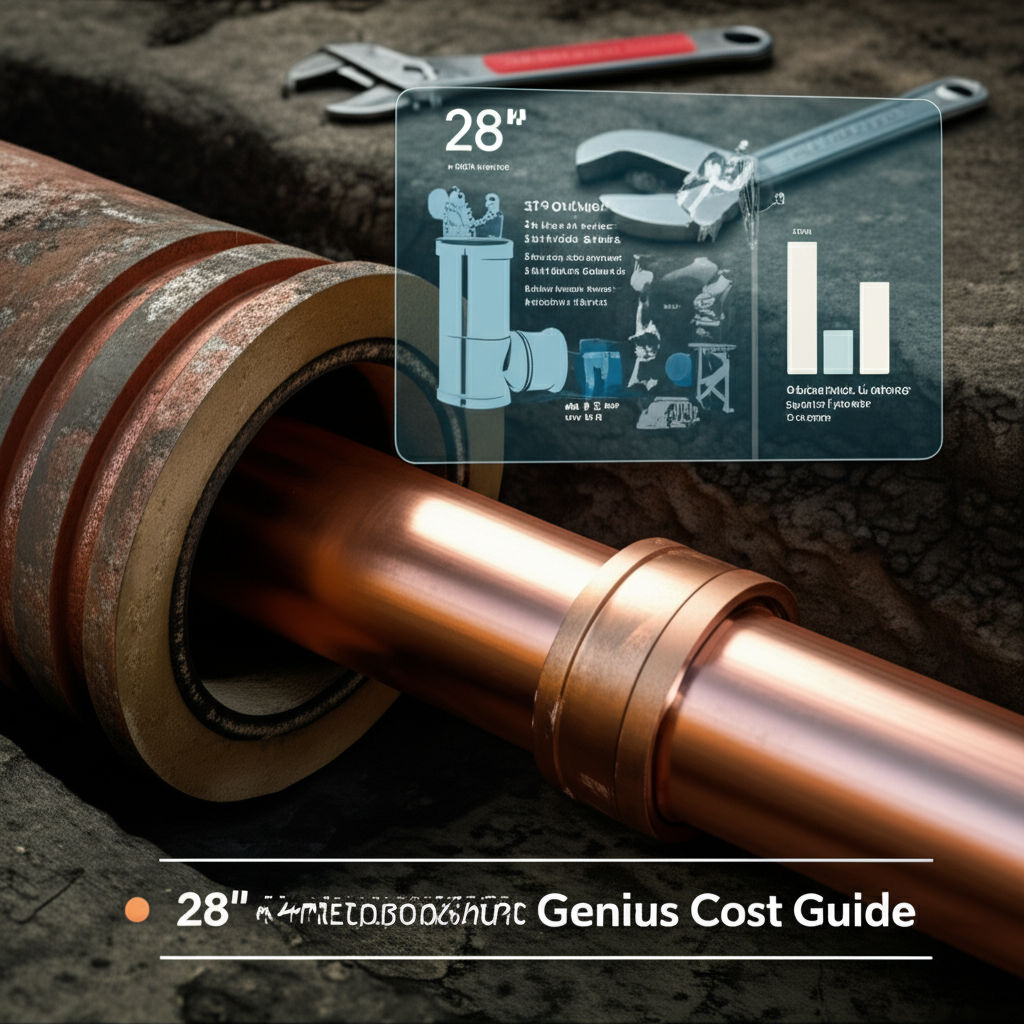
First off, let’s clear up what “28” pipe usually means in plumbing. When people talk about “28” plumbing pipe, they’re most often referring to the diameter of the pipe, measured in inches. So, a “28” pipe is very, very large. In most homes, you’ll find pipes that are much smaller, like 1/2 inch, 3/4 inch, or 1 inch. These are for your faucets, toilets, and showers.
Larger pipes, like 28-inch diameter pipes, are typically found in commercial buildings, industrial sites, or for major municipal water mains. These carry massive amounts of water. If you’re a homeowner dealing with a leak, it’s highly unlikely you have a “28” inch pipe inside your house. It’s much more probable that you are dealing with a smaller diameter pipe that might look like a “28” due to a misunderstanding or perhaps it relates to a specific code or measurement system you encountered.
For the purpose of this guide, we’re going to assume you’re dealing with typical residential plumbing, where pipe sizes are much smaller. If you genuinely have a 28-inch pipe in your home, you’ll need to consult with specialized industrial plumbing professionals, and this guide will not be applicable.
Why Would You Need to Replace Plumbing Pipes?
Pipes don’t last forever. Over time, they can develop problems that require replacement. Here are the most common reasons:
- Corrosion and Rust: Older metal pipes, especially those made of galvanized steel, can corrode from the inside out. This rust can reduce water flow and contaminate your water.
- Leaking Joints: The connections where pipes join can weaken and start to leak due to age, poor installation, or shifting foundations.
- Cracks or Holes: Pipes can crack or develop holes from freezing temperatures, physical damage, or simply from being too old and brittle.
- Outdated Materials: Some older plumbing materials, like lead or certain types of older plastic, are no longer considered safe or durable and are often replaced as a preventative measure.
- Low Water Pressure: Severe corrosion or blockages inside pipes can significantly reduce water pressure throughout your home.

Understanding Pipe Materials: What’s the Cost Difference?
The type of pipe material your home uses greatly impacts the cost of replacement. Different materials have different prices, lifespans, and installation complexities.
| Pipe Material | Typical Lifespan | Pros | Cons | General Cost Range (per linear foot, material only) |
|---|---|---|---|---|
| Copper | 50+ years | Durable, resistant to corrosion, good for hot and cold water | Can be expensive, requires soldering (can be tricky for DIY) | $2 – $10+ |
| PEX (Cross-linked Polyethylene) | 50+ years | Flexible, easy to install, resistant to freezing, more affordable than copper | Can degrade with UV exposure, different connection types (crimp, push-fit) | $0.50 – $3 |
| PVC (Polyvinyl Chloride) | 50+ years | Inexpensive, great for drain-waste-vent (DWV) systems, easy to glue | Not typically rated for hot water or potable water supply lines in many areas | $0.25 – $1.50 |
| Galvanized Steel | 40-60 years (prone to internal corrosion) | Strong, historically common | Prone to rust and buildup inside, reducing water flow; difficult to cut and thread | $1 – $5 (if you can find it new) |
As you can see, PEX is often the most cost-effective and DIY-friendly option for water supply lines. PVC is great for drains but not usually for your fresh water. Copper is a reliable choice but comes at a higher material cost and requires a bit more skill to install.
Cost Breakdown: What Factors Influence the Price?
The total cost of replacing plumbing pipes isn’t just about the material. Several factors play a role:
- Length of Pipe Needed: Naturally, the longer the section of pipe you need to replace, the more material and labor will be involved.
- Accessibility: Is the pipe easily reachable in an open basement, or is it hidden behind finished walls, under concrete, or buried underground? Harder access means more labor time and potentially more damage to repair afterward.
- Type of Pipe Material: As our table showed, copper is pricier than PEX.
- Labor Costs: If you hire a plumber, their hourly rate and the time it takes them will be a significant part of the cost. Rates vary by location.
- Complexity of the Job: Replacing a straight section is easier than rerouting pipes around obstacles or dealing with multiple connections.
- Fixtures Involved: If the pipe replacement involves disconnecting and reconnecting sinks, toilets, or showers, this adds time and complexity.
- Permits: Some areas require permits for significant plumbing work, which adds a fee.
- Emergency Service: If you need a plumber on a weekend or holiday, expect higher charges.
DIY vs. Hiring a Professional: The Cost Comparison
This is where you can make some smart choices to save money.
DIY Pipe Replacement
Pros:
- Significant cost savings on labor.
- Sense of accomplishment and new skills learned.
- You control the pace of the work.
Cons:
- Requires the right tools and knowledge.
- Mistakes can be costly (leaks, water damage, improper connections).
- Time-consuming, especially if you’re learning as you go.
- May void warranties on fixtures if not done correctly.
- Potential for unsafe practices if not careful (e.g., dealing with water shut-off, proper pipe cementing).
Estimated DIY Cost: Material cost + Tool rental/purchase ($100 – $300) + Your Time. You could save hundreds or even thousands of dollars on labor.
Hiring a Professional Plumber
Pros:
- Expertise and experience ensure the job is done right the first time.
- Faster and more efficient completion.
- Access to specialized tools and high-quality materials.
- Often comes with a warranty on work and materials.
- Less stress for you!
Cons:
- Significantly higher overall cost due to labor charges.
- You have less control over scheduling.
Estimated Professional Cost:
- Minor Repair (e.g., a single joint): $150 – $400
- Section Replacement (e.g., 5-10 feet): $300 – $800
- Replacing a whole line or re-piping a room: $1,000 – $3,500+ (depending on complexity and size of home)
To get a good estimate, always get multiple quotes from licensed plumbers. Ask for a detailed breakdown of costs.
How to Replace a Small Section of Pipe (DIY Friendly Method!)
This guide focuses on a common scenario: replacing a small, damaged section of a common water supply line, like 1/2-inch or 3/4-inch copper or PEX. We’ll use PEX with push-fit connectors for simplicity, as it’s often the easiest for beginners.
Tools & Materials You’ll Need:
- New PEX pipe (correct diameter)
- Push-fit connectors (e.g., SharkBite) for PEX or copper (correct size)
- Pipe cutter (for PEX or copper)
- Adjustable wrench or pipe wrench (if using compression fittings, less common with PEX)
- Deburring tool or sandpaper/emery cloth
- Bucket and towels
- Safety glasses
- Gloves
- Permanent marker
- Measuring tape
Step-by-Step Guide:
- Shut Off Water: Find the main water shut-off valve for your house (usually in the basement, crawl space, or near the water meter) and turn it off completely. Open a faucet on the lowest level of your home to drain the remaining water from the pipes.
- Identify the Problem Area: Pinpoint the exact section of pipe that needs replacing. If it’s a leak, that’s usually obvious. If it’s corrosion or damage, make sure you’re cutting out enough of the bad section.
- Plan Your Cuts: Measure and mark the pipe where you need to cut. You’ll want to remove the damaged section and have enough straight pipe on either side to attach your new fittings and pipe. For push-fit connectors, you typically need about 1 inch of clean, smooth pipe on each end.
- Cut the Pipe: Using your pipe cutter, make clean, straight cuts at your marked lines. Rotate the cutter around the pipe for a smooth cut. For copper, ensure the cut is square.
- Drain Remaining Water: Place a bucket and towels under the cut section. Even with the main shut off, some water will likely remain in the pipes. This will help catch any residual drips.
- Prepare the Pipe Ends:
For PEX: Ensure the cut ends are smooth and free of burrs. Use a deburring tool or gently sand the edges. The fitting needs to slide on easily.
For Copper: Make sure the ends are clean, smooth, and round. Use emery cloth to polish the ends where the fitting will seal.
- Install the Fittings:
Push-fit fittings are simple: just push them firmly onto the prepared pipe end until they click or seat fully. You should feel or hear it seat. For connecting two pipes with a fitting, insert one pipe, then the other. If you’re bridging a gap or replacing a section, you might use two fittings connected by a short piece of pipe, or a coupling fitting.
- Connect the New Pipe: Insert the new piece of PEX pipe into the fittings on either side of the removed section. Push firmly until it’s fully seated.
- Turn Water Back On: Slowly turn the main water supply valve back on. Listen for any unusual noises.
- Check for Leaks: Carefully inspect all the new connections for any signs of leaks. Let the system build pressure for a few minutes and re-check.
- Test: Turn on nearby faucets to ensure water flow is restored and then turn them off. Check the connections one last time.

When to Call a Professional Plumber
While DIY can save money, it’s crucial to know your limits. Call a licensed plumber if:
- You’re dealing with larger pipes or your home has old, outdated piping systems (like lead or knob-and-tube wiring that might be near pipes).
- The leak is severe and you can’t locate or shut off the water supply quickly.
- You’re not comfortable with any step of the process, especially shutting off water or making connections.
- The pipe is in a difficult-to-access location (e.g., behind a finished wall, under a concrete slab, or in a tight crawl space).
- You need to replace a significant portion of your home’s plumbing system.
- You’ve attempted a DIY repair and it’s still leaking.
- You suspect issues with your main water line entering the house.
According to the U.S. Environmental Protection Agency (EPA), maintaining your plumbing system is key to preventing water waste and costly repairs. Choosing a professional ensures the work meets code and lasts. You can learn more about plumbing basics and maintenance on resources like the EPA’s WaterSense program.
Troubleshooting Common Pipe Issues (Causes & Solutions)
Here’s a quick look at common pipe problems and their likely causes:
| Problem | Likely Cause | DIY Fix Possibility | When to Call Pro |
|---|---|---|---|
| Minor Drip Leak | Loose fitting, small crack, pinhole corrosion | Yes, if it’s a simple fitting or a small section repairable with push-fit/compression fittings. | If leak is from a main line, hard-to-reach place, or you can’t identify the source. |
| Constant Low Water Pressure | Corrosion/blockage inside pipes, partially closed shut-off valve, issues with the water main, clogged aerators. | Check/clean aerators, ensure valves are fully open. | If it affects multiple fixtures and isn’t solved by simple checks. May indicate widespread pipe issues. |
| Murky or Discolored Water | Sediment buildup in pipes, issues with galvanized pipes rusting, recent nearby municipal work. | Run cold water for several minutes. | If discoloration persists, especially if it smells or looks rusty, it could be significant pipe degradation. |
| Gurgling Sounds from Drains | Partial blockage in drain pipe, venting issues. | Can sometimes be cleared with a plunger or drain snake. Check vent pipes on the roof. | If recurring or severe, it points to a larger drain line issue. Improper vent work can be dangerous. |
Cost-Saving Tips for Pipe Replacement
Want to keep costs down? Try these smart strategies:
- DIY When Appropriate: For simple, accessible repairs on smaller diameter pipes (especially PEX), DIY can save a lot.
- Get Multiple Quotes: Never settle for the first quote you get from a plumber. Compare prices and services.
- Ask for Material Options: Discuss with your plumber the most durable and cost-effective materials for your specific situation (often PEX for supply lines).
- Schedule Off-Peak: If possible, avoid needing emergency service. Plumbing work is often cheaper during regular business hours.
- Bundle Repairs: If you know other minor plumbing issues need attention, address them at the same time to save on the plumber’s call-out fee.
- Consider Repiping Smaller Sections: Instead of a whole-house repipe, if only one section is failing, focus on replacing just that section.
- Understand Warranties: Ask plumbers about warranties on their work and materials. This can save you money on future repairs due to faulty work.
Frequently Asked Questions (FAQs)
Q1: How do I know if my pipes need replacing?
A1: Look for signs like frequent leaks, discolored water, reduced water pressure, strange noises (like banging or gurgling), or visible corrosion and rust on the pipes.
Q2: Is PEX pipe really cheaper than copper?
A2: Yes