

Quick Summary: Learn how to plumb a gas line safely and effectively with this essential guide. We cover essential tools, materials, and step-by-step procedures for a reliable installation, ensuring your appliance runs smoothly and securely.
Hey fellow plumbers! Working with gas lines can seem daunting, but it’s a critical skill for any appliance plumber. A properly installed gas line means happy customers and fewer callbacks. Many of us have faced the challenge of running a new gas line for a range, dryer, or water heater, and sometimes it feels like a puzzle. This guide is built from years on the job, breaking down exactly how to tackle a gas line installation with confidence. We’ll walk through everything you need to know, making this essential task straightforward and safe.
Why Mastering Gas Line Plumbing Matters
As appliance plumbers, we’re often the first line of defense when a new appliance needs gas. Whether it’s a high-BTU range, a commercial oven, or a high-efficiency water heater, getting the gas piping right is paramount. It’s not just about making the appliance work; it’s about ensuring safety, meeting code, and providing a reliable service that prevents future issues. A poorly installed gas line can lead to leaks, inefficient appliance performance, and, in the worst-case scenario, a dangerous situation. Knowing the right way to plumb a gas line from start to finish builds your reputation and ensures your customers are safe and satisfied.
Essential Tools for Gas Line Plumbing
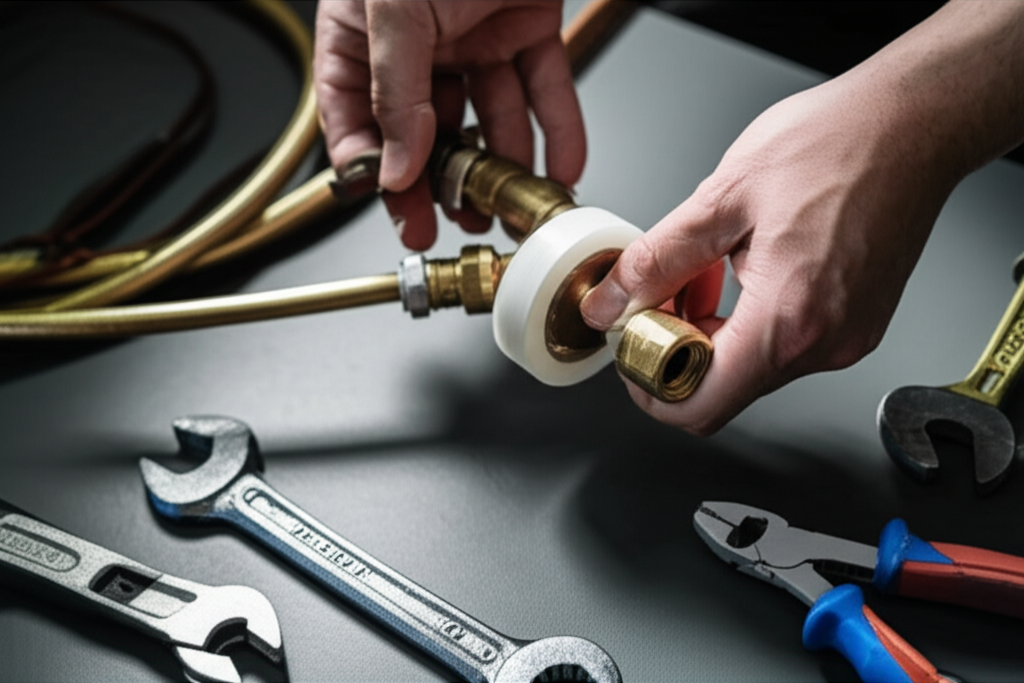
Before you even think about cutting pipe, gather your gear. Having the right tools on hand makes the job go smoother and safer. Here’s what I always have in my truck:
- Pipe Wrench(es): You’ll need a couple of these, typically 10-inch or 14-inch, for gripping and turning pipe fittings. Having two allows you to hold a fitting steady with one while turning with the other.
- Pipe Cutter: For clean, square cuts on black iron pipe. A wheel cutter is standard.
- Pipe Threader (Manual or Power): If you’re working with black iron pipe, you’ll need to thread the ends to connect fittings. A power threader is a lifesaver for longer runs.
- Reamer: After cutting pipe, you must ream the inside to remove burrs that can restrict gas flow or cause turbulence.
- Measuring Tape: Accuracy is key. Measure twice, cut once!
- Level: Ensure your gas piping runs straight and true.
- Deburring Tool: For cleaning up the outside of the pipe after cutting.
- Safety Glasses: Non-negotiable. Protect your eyes from debris.
- Work Gloves: Protect your hands.
- Gas Leak Detector Solution (or Soap and Water): For final leak testing.
- Adjustable Wrench: Useful for various fittings and connections.
- Teflon Tape (PTFE Tape) or Pipe Joint Compound (Pipe Dope): Specifically rated for natural gas or LP gas. Check the product’s specifications.
- Screwdriver(s): For securing straps and supports.
- Bucket or Tray: To catch drips when working with pipe dope or if there’s residual gas.
Materials You’ll Need for Your Gas Line Installation
Choosing the right materials is just as important as using the right tools. Safety and code compliance start with selecting appropriate products.
- Piping: For typical residential and commercial gas lines, black iron pipe (ASTM A53, Grade A or B, or ASTM A106 seamless) is the standard. For corrugated stainless steel tubing (CSST) systems, ensure you are certified and follow the manufacturer’s instructions and local codes.
- Fittings: Black iron fittings (couplings, elbows, tees, reducers) must be compatible with black iron pipe and rated for gas service.
- Flexible Gas Connectors: These are used for connecting appliances like ranges, dryers, and water heaters to the fixed piping system. Always use connectors that are the correct length, diameter, and approved for the appliance’s BTU rating and type of gas. Ensure they are rated for the pressure and type of gas. ICC-ES reports provide vital information on their safety and compliance.
- Shut-off Valves: A manual gas shut-off valve is required before the appliance connector and at the meter or source. Use quarter-turn ball valves specifically designed for gas.
- Pipe Hangers/Straps: To properly support the gas piping.
- Sealing Compound: Gas-rated pipe dope or PTFE tape.
Understanding Gas Line Sizing
This is where many jobs can go wrong if not done correctly. Undersized piping starves appliances of gas, leading to poor performance and potential safety issues. Oversized piping is a waste of material and can be more difficult to install. The key is to match the pipe size to the total BTU load of the appliances served and the length of the pipe run. Manufacturers provide BTU ratings for their appliances. Building codes, like those adopted from the International Fuel Gas Code (IFGC), provide detailed tables for sizing.
Factors influencing gas line sizing:
- Appliance BTU Load: The total gas input (in BTUs per hour) of all appliances connected to the line.
- Length of the Pipe Run: The total distance from the gas source to the furthest appliance.
- Pressure Drop: The allowable reduction in gas pressure from the source to the appliance. Codes specify this.
- Type of Gas: Natural gas and LP gas have different properties and require separate sizing considerations.
Here’s a simplified look at pipe sizing for natural gas from a typical 7-inch water column (W.C.) source. Always refer to the IFGC or equivalent local code tables for precise sizing.
| Pipe Size (Nominal Inside Diam.) | Maximum Length of Run (Feet) for Various BTU Loads (x 1000 BTU/hr) | ||||
| 100 | 200 | 300 | 400 | 500 | |
| 1/2″ | 150 | 100 | 75 | 60 | 50 |
| 3/4″ | 400 | 275 | 200 | 160 | 135 |
| 1″ | 850 | 575 | 425 | 340 | 285 |
Note: This is a simplified example. Always consult current code tables for accurate sizing, considering all factors.
For LP gas, the tables differ significantly due to its higher energy density. You’ll typically use smaller pipe sizes for the same BTU load and distance compared to natural gas.
Step-by-Step: How to Plumb a Gas Line
Let’s get down to the nitty-gritty. This process assumes you’re adding a new line from an existing manifold or existing gas piping in a building. Always verify local codes and utility company requirements. If you’re unsure, call a professional gas fitter or the utility first.
Step 1: Plan Your Route
Before cutting any pipe, sketch out your route. Consider:
- Appliance Location: Where is the appliance?
- Gas Source: Where are you tapping into the existing line?
- Obstructions: Joists, studs, plumbing, electrical, HVAC ducts. How will you navigate them?
- Ventilation: Ensure adequate ventilation for the work area.
- Supports: Plan where you’ll need to support the pipe. Gas lines need to be supported at regular intervals (typically every 5-10 feet for horizontal runs, and at changes in direction).
- Future Access: Is the pipe reasonably accessible for future maintenance?
Step 2: Shut Off the Gas Supply
This is the most critical safety step. Locate the main gas shut-off valve for the building (usually near the meter) and close it completely. Notify building occupants if necessary. Inform the gas utility if you are working on the main line or are uncomfortable with this step.
Step 3: Prepare the Existing Gas Line
If you’re tapping into an existing line, you’ll need to install a tee fitting. For this, you’ll need to isolate a section of the pipe. Depending on your setup, you might need to shut off the gas at a branch line or shut off the main supply and vent residual gas safely (if your job requires it and you are trained). If you’re adding to a manifold, follow its specific connection procedures.
Step 4: Cut and Thread the Pipe (Black Iron)
Measure the required length for your new run from the tee (or starting point) to the appliance location. Cut the pipe squarely using a pipe cutter. Use a reamer to remove any burrs from the inside of the cut end. Then, use a pipe threader with appropriate cutting oil to thread the end(s) of the pipe. The threads should be clean and sharp.
Step 5: Apply Pipe Sealant
Apply gas-rated pipe dope or PTFE tape to the male threads only. For pipe dope, coat the threads evenly, leaving the first 1-2 threads bare. For PTFE tape, wrap it clockwise around the threads 3-5 times, depending on the tape thickness. Ensure the sealant won’t get pushed into the pipe upon assembly.
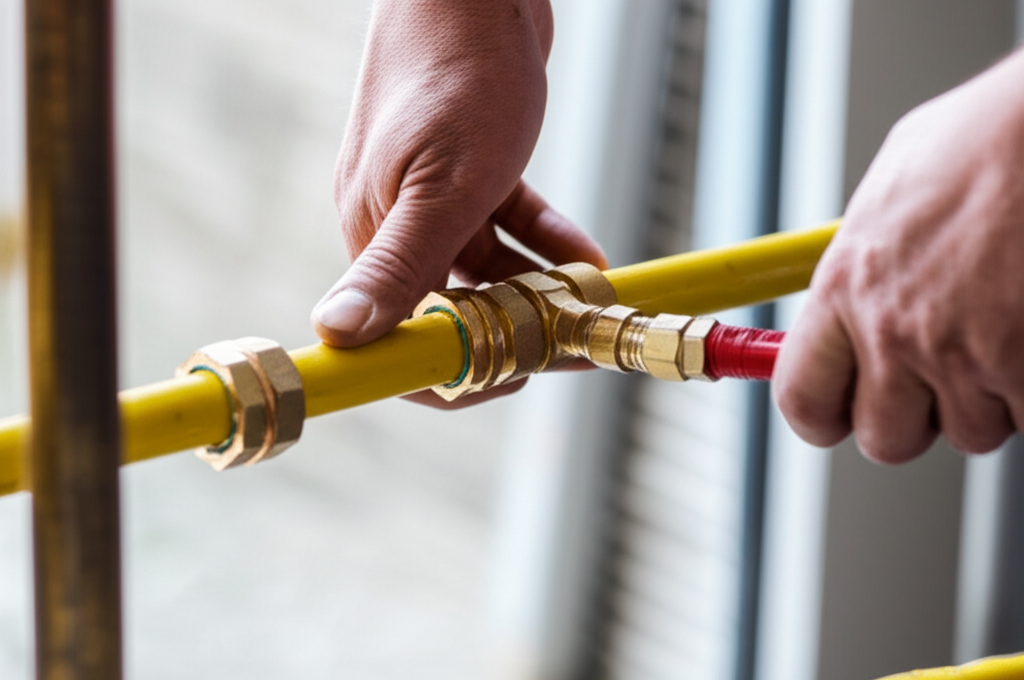
Step 6: Assemble the Piping
Start assembling your new gas line, connecting fittings to the existing line and running pipe along your planned route. Use two pipe wrenches: one to hold the existing pipe or fitting steady, and the other to tighten the new pipe or fitting. Tighten fittings until they are snug and properly aligned. Ensure all joints are sealed correctly with your pipe sealant.
Step 7: Install Supports and Straps
As you run the pipe, install appropriate hangers or straps to support it. This prevents sagging and stress on the joints. Black iron pipe should be supported approximately every 5-10 feet horizontally and at each 90-degree elbow or change in direction. Refer to the IFGC for specific support spacing requirements.
Step 8: Install the Shut-Off Valve
Near the appliance, install a gas shut-off valve. Typically, this is a quarter-turn ball valve designed for gas. Connect it to the end of your new gas line run using the same pipe sealing techniques. The valve should be easily accessible.
Step 9: Connect the Flexible Gas Connector
Connect the flexible gas connector to the shut-off valve. Ensure you are using the correct size and type of connector for the appliance’s BTU rating and gas type. Most connectors have a built-in seal or require a small amount of gas-rated sealant on the male threads of the valve. Follow the connector manufacturer’s instructions carefully.
Step 10: Connect to the Appliance
With the shut-off valve in the “off” position, connect the other end of the flexible gas connector to the appliance’s gas inlet. Again, use appropriate sealant if required by the connector manufacturer. Do NOT overtighten flexible connectors.
Step 11: Leak Testing – The Ultimate Test
This is where you ensure everything is sealed tight. There are two common methods:
Method 1: Gas Leak Detector Solution
- Open the main gas valve slowly.
- Thoroughly coat all joints, fittings, and the connection points of the shut-off valve and flexible connector with a gas leak detection solution (or a mixture of dish soap and water).
- Watch closely for any bubbles forming. Bubbles indicate a leak.
- If you find a leak, shut off the gas immediately, disassemble the connection, re-seal the threads, and re-test.
Method 2: Electronic Gas Leak Detector
- These electronic devices are very sensitive and can quickly pinpoint small leaks.
- Follow the manufacturer’s instructions for use. They work similarly by detecting gas molecules in the air.
Important Note: Never use an open flame (like a lighter or match) to test for gas leaks. It’s extremely dangerous!
Step 12: Turn On Gas and Test Appliance
Once you’ve confirmed there are no leaks, turn the main gas valve back on fully. Then, turn the shut-off valve at the appliance to the “on” position. Light the appliance according to its manufacturer’s instructions. Check that it ignites properly and its burner flames look normal (blue with a slight yellow tip, no excessive flickering or roaring).
Safety First: When to Call a Professional
While this guide provides the steps, gas piping is serious business. There are situations where calling a specialized gas fitter or the utility company is the safest and most efficient route:
- Uncertainty about Codes: If you’re not 100% sure about local codes or complex sizing calculations.
- Major Gas Line Work: If you’re altering or replacing large sections of gas pipe, especially at the meter or main supply.
- High-Pressure Systems: Some commercial applications or propane systems can operate at higher pressures requiring specialized knowledge and equipment.
- Smelling Gas: If you ever smell gas, you should evacuate the area immediately, do not operate any electrical switches, and call your gas utility from a safe location.
- Propane (LP) Gas: Propane systems have specific safety protocols and require expertise due to its heavier-than-air nature and different handling requirements.
The U.S. Occupational Safety and Health Administration (OSHA) provides resources for gas safety in workplaces, underscoring the importance of proper handling.
Common Pitfalls and How to Avoid Them
Even experienced pros can run into issues. Here are a few common mistakes and how to sidestep them:
- Improper Pipe Support: Leads to sagging, stress, and potential leaks over time. Always follow code for support spacing, especially around bends.
- Using the Wrong Sealant: Standard pipe dope for water can degrade with gas. Always use products specifically rated for natural or LP gas.
- Overtightening Flexible Connectors: This can damage the connector, leading to leaks. Hand-tighten and then give a quarter to a half-turn with a wrench, as per manufacturer recommendations.
- Incorrect Sizing: Starving appliances of gas causes poor performance. Ensure your sizing calculations are accurate and follow code tables religiously.
- Forgetting Leak Testing: This is the absolute NO-GO. Always, always, always leak test every single joint, fitting, and connection.
- Not Turning Off Gas First: Seems obvious, but mistakes happen under pressure. Double-check that the gas is OFF before you start cutting or assembling.
Frequently Asked Questions (FAQ) About Gas Lines
Q1: What is the safest way to connect a gas appliance?
A1: Connect using approved black iron pipe for the fixed piping and a properly sized, approved flexible gas connector. Always install a manual shut-off valve before the connector. Ensure all connections are leak-tested.
Q2: Can I use galvanized pipe for gas lines?
A2: No. Galvanized pipe is NOT approved for natural gas or LP gas piping. Only use black iron pipe or approved CSST systems for gas lines.
Q3: How often should I check for gas leaks?
A3: You should diligently check for leaks immediately after installation or any modification. If you ever smell gas, take immediate action. Regular inspections are generally not required unless you suspect a problem.
Q4: What’s the difference between pipe dope and PTFE tape for gas lines?
A4: Both are acceptable if rated for gas. Pipe dope provides a thicker seal and can fill minor imperfections. PTFE tape is cleaner to use for some and provides a good seal when applied correctly. Always use products specifically marked for gas service.
Q5: How do I know if I have the correct size gas line?</